
How To Measure A Glass Balustrade System
Glass balustrades are used to secure terraced areas, as a balcony or decking railings, whilst also offering an attractive addition to your home and garden.
Ensure the perfect fit for your glass balustrade by taking correct measurements before ordering.
Consult the below steps based on the glass balustrade system you’d like fitted, and follow our guidelines on how to measure.
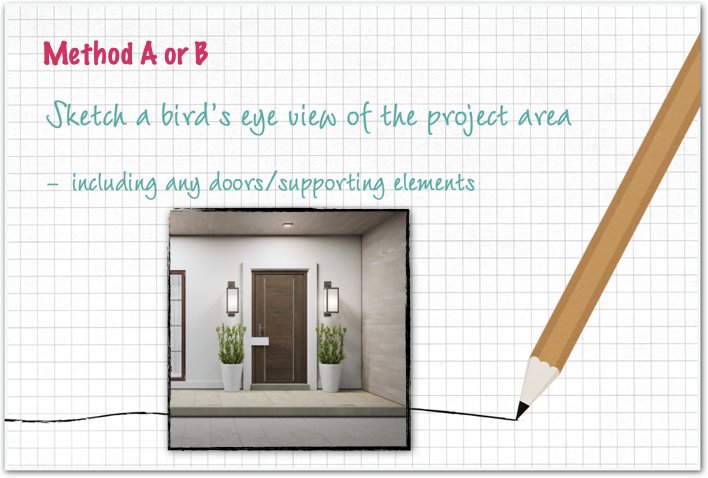
It’s your choice if you choose Method A or B, unless you’re measuring for stairs - in this case choose Method C.
You’ll need a pen/pencil, paper and tape measure to draw a plan of the project area, and add measurements.
There’s no need for the drawing to be complex or to scale, just make sure to write down the accurate measurements on the plan as well.
Also, remember to include dimensions of supporting walls, doors and so on.
Once complete, email your plan to sales@made2measure.co.uk, along with your contact information and delivery postcode, so we can give you a quote!
Method A
- Measure the edge of the floor/patio that the balustrade will be fixed onto and add the details to your bird’s eye view sketch of the project area.
(We’ll calculate the centre line for you so that fixings can be placed far enough away from the edge to ensure they are secure.) - Next, include the glass height you require on the plan. To protect a fall over 600mm outside it’ll need to be a minimum of 1100mm, or a minimum of 900mm if used inside for domestic use.
Method B - Measure for either a Post or Channel System
For Post Systems:
- Mark the centre of the end and corner posts at 75mm from the edge and walls, on your bird’s eye view sketch of the project area.
(We’ll calculate the distance between the mid posts and the glass size for you, ensuring glass panels on each length are equal.) - Next, include the glass height you require on the plan. To protect a fall over 600mm outside it’ll need to be a minimum of 1100mm, or a minimum of 900mm if used inside for domestic use.
For Channel Systems:
- Mark the centre line of the channel 75mm away from the edge, on your bird’s eye view sketch of the project area.
(We’ll calculate the glass sizes for you.) - Next, include the glass height you require on the plan. To protect a fall over 600mm outside it’ll need to be a minimum of 1100mm,
or a minimum of 900mm if used inside for domestic use.
Method C - Measuring for stairs
- Sketch a side on view of the stairs ensuring you draw the correct number of steps.
- Measure the overall height. This is the distance from the floor or landing at the top of the stairs to the floor/landing at the bottom of the stairs.
- Measure the overall length.This is the horizontal distance form the edge of the nosing on the first tread at the bottom of the staircase to the edge of the nosing on the floor/landing at the top of the staircase.
- To obtain the length of the nosing, measure the top edge of the nosing of the first tread to the top edge of the floor/landing nose.
(Avoid confusing this measurement with overall length by checking the image above.) - Measure the tread depth length from front to back. This only needs to be done for one stair.
- Measure the riser height from the base tread to the tread of the next stair above it. This only needs to be done for one stair.
- Count the number of risers. Include the riser from the bottom floor or landing to the first tread. Then count to the last tread to the floor or landing at the top of the set of stairs.
- Count the number of treads. Don’t include the floors or landings. Generally, you’ll have one more riser than you will have treads.

Mablethorpe, Lincolnshire, LN12 1LE


